CentOS8.1 yum安装LAMP
在Linux公社看到类似的文章,于是想自己动手搭建一下LAMP,于是分享给大家。
LAMP是Linux,Apache,MySQL和PHP的首字母缩写,之前也见过LNMP,即Linux,Nginx,MySQL和PHP,本文是LAMP搭建教程
在进行搭建环境之前,我们先检查一下我的系统版本信息,以便大家在同样的环境下进行同样的实验
第一步:更新CentOS 8软件包
这里我是从阿里镜像里面更新的,分别更新了基础yum源CentOS-Base.repo跟扩展yum源epel.repo
yum优化方法:通过阿里镜像源进行优化
01.优化基础的yum源:
curl-o /etc/yum.repos.d/CentOS-Base.repo http://mirrors.aliyun.com/repo/Centos-7.repo
02.优化扩展的yum源
  wget-O /etc/yum.repos.d/epel.repo http://mirrors.aliyun.com/repo/epel-7.repo
打开阿里镜像网站,找到我们需要的系统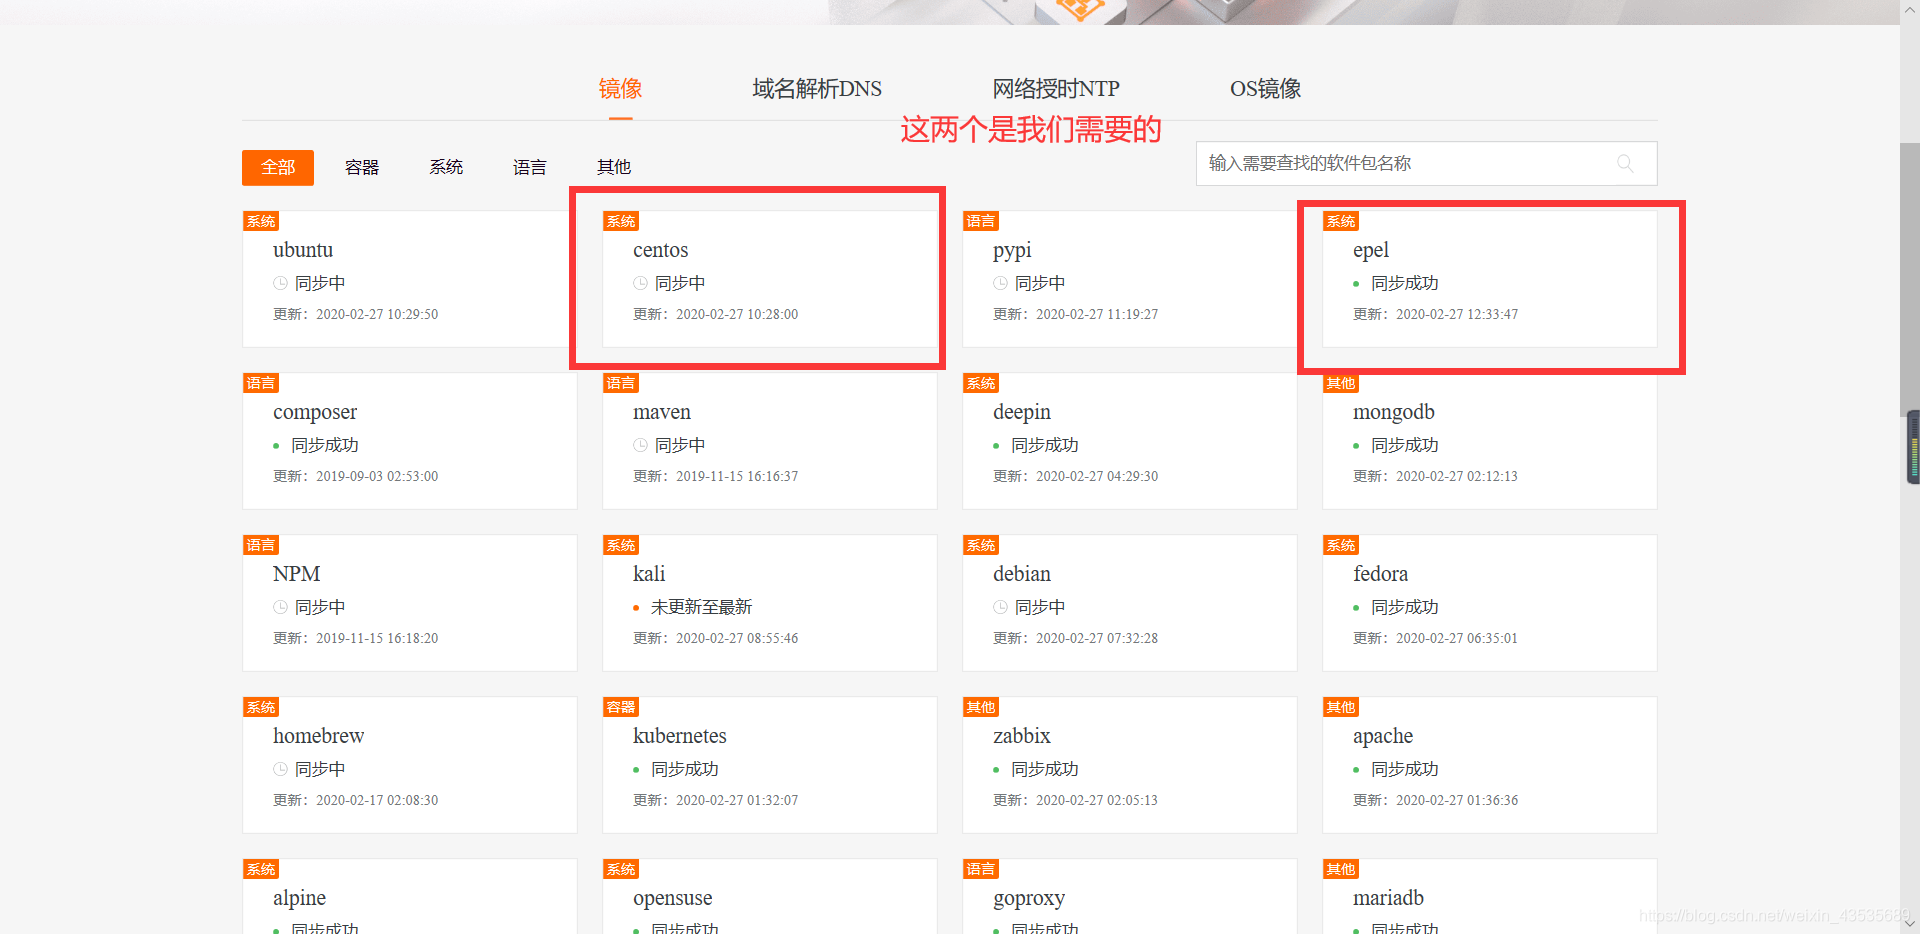
找到与我们系统版本号相同的基础yum源,这里阿里镜像着实做的不错,我们只需要
复制运行就OK啦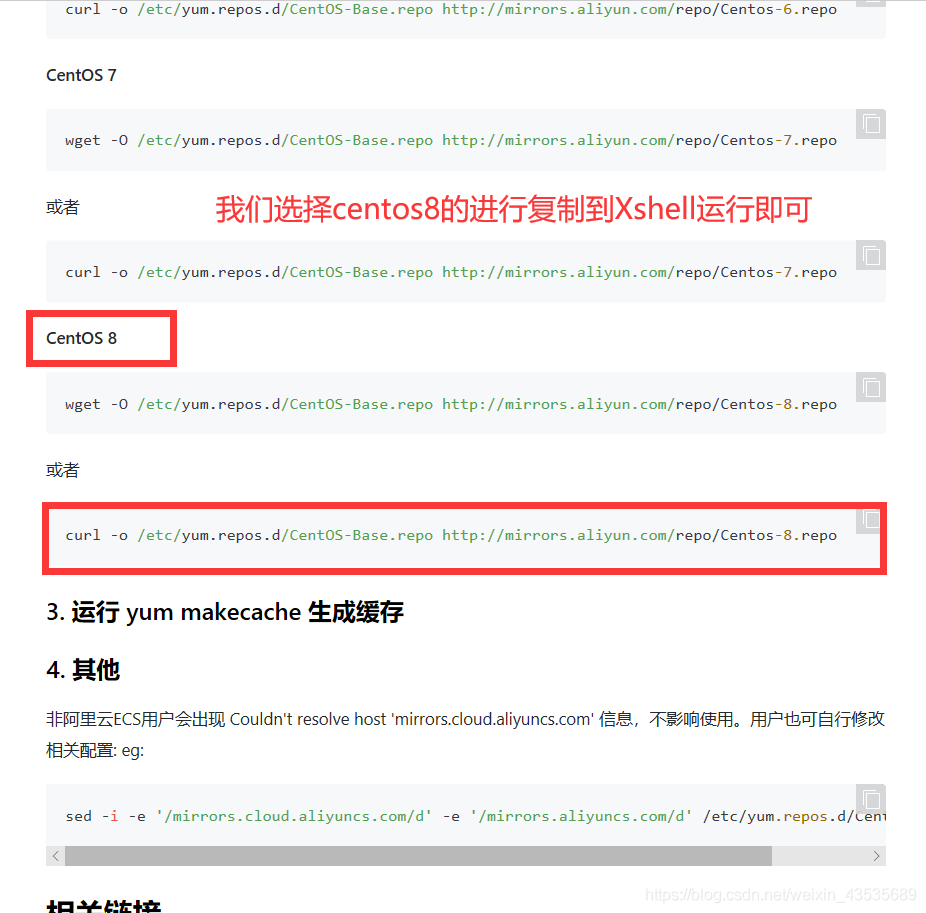

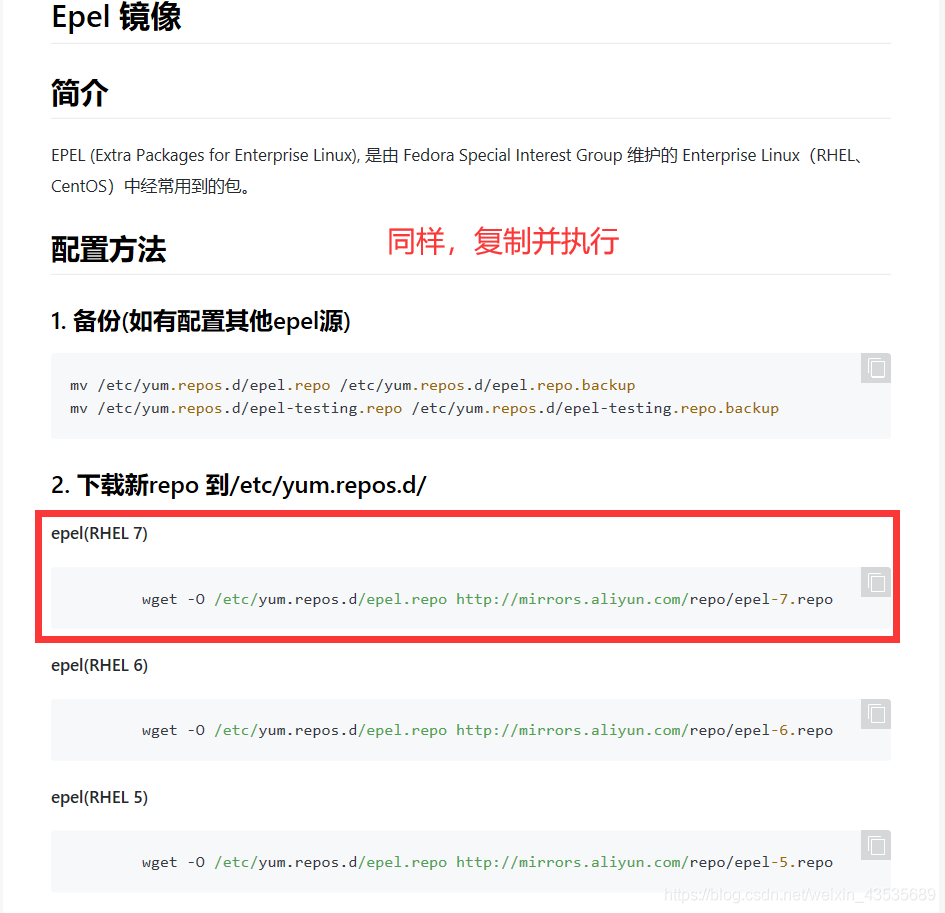
扩展源也一样
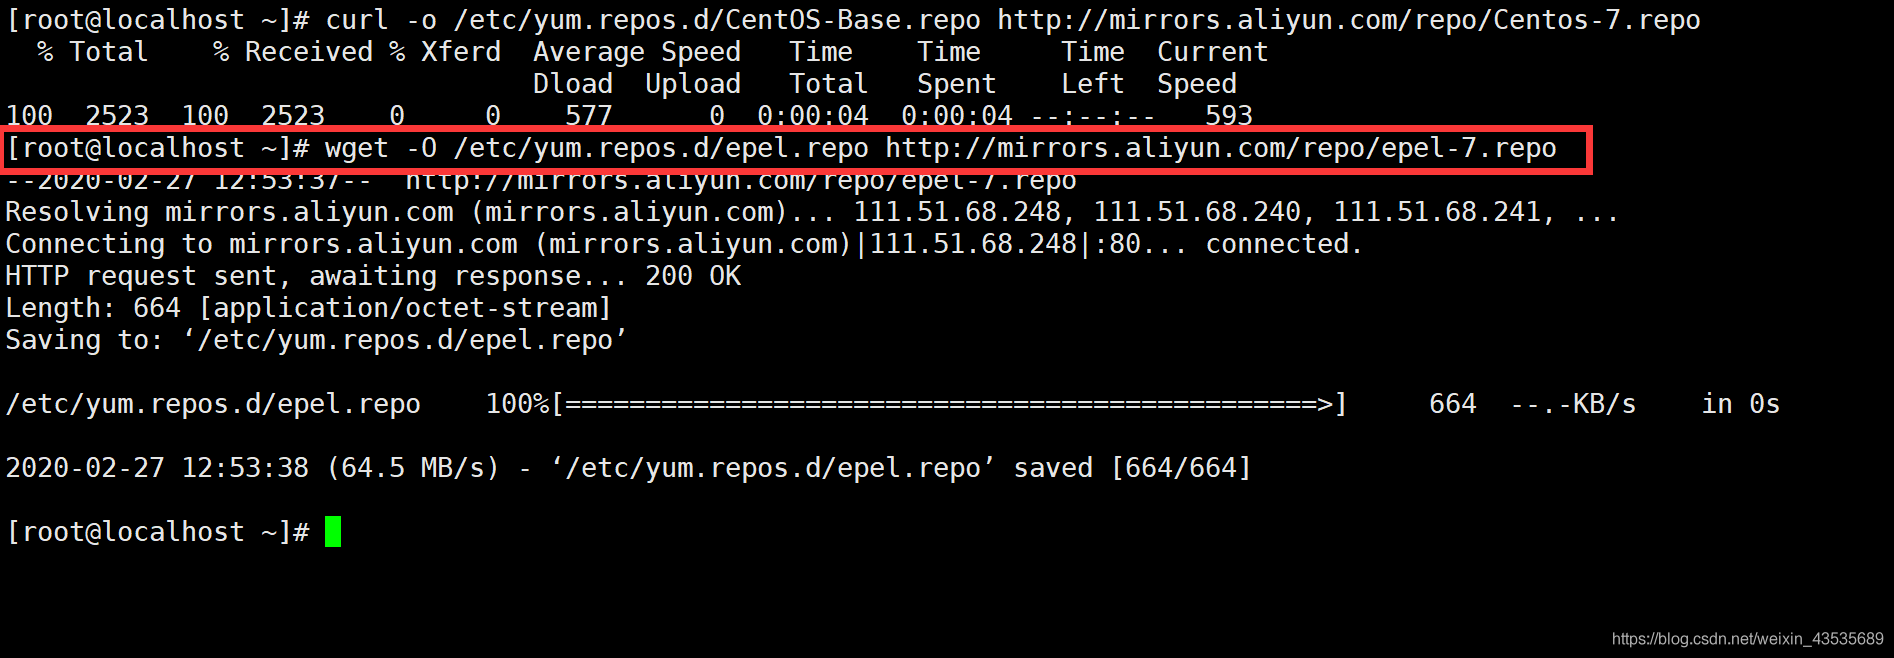
这样,我们就做好yum源的装备工作了。
第二步:安装Apache Web 服务器
安装完成后,使用以下命令启用Apache在系统启动时自动启动
[root@localhost ~]# yum install  -y httpd  httpd-tools
[root@localhost ~]# systemctl  start  httpd
[root@localhost ~]#systemctl enable httpd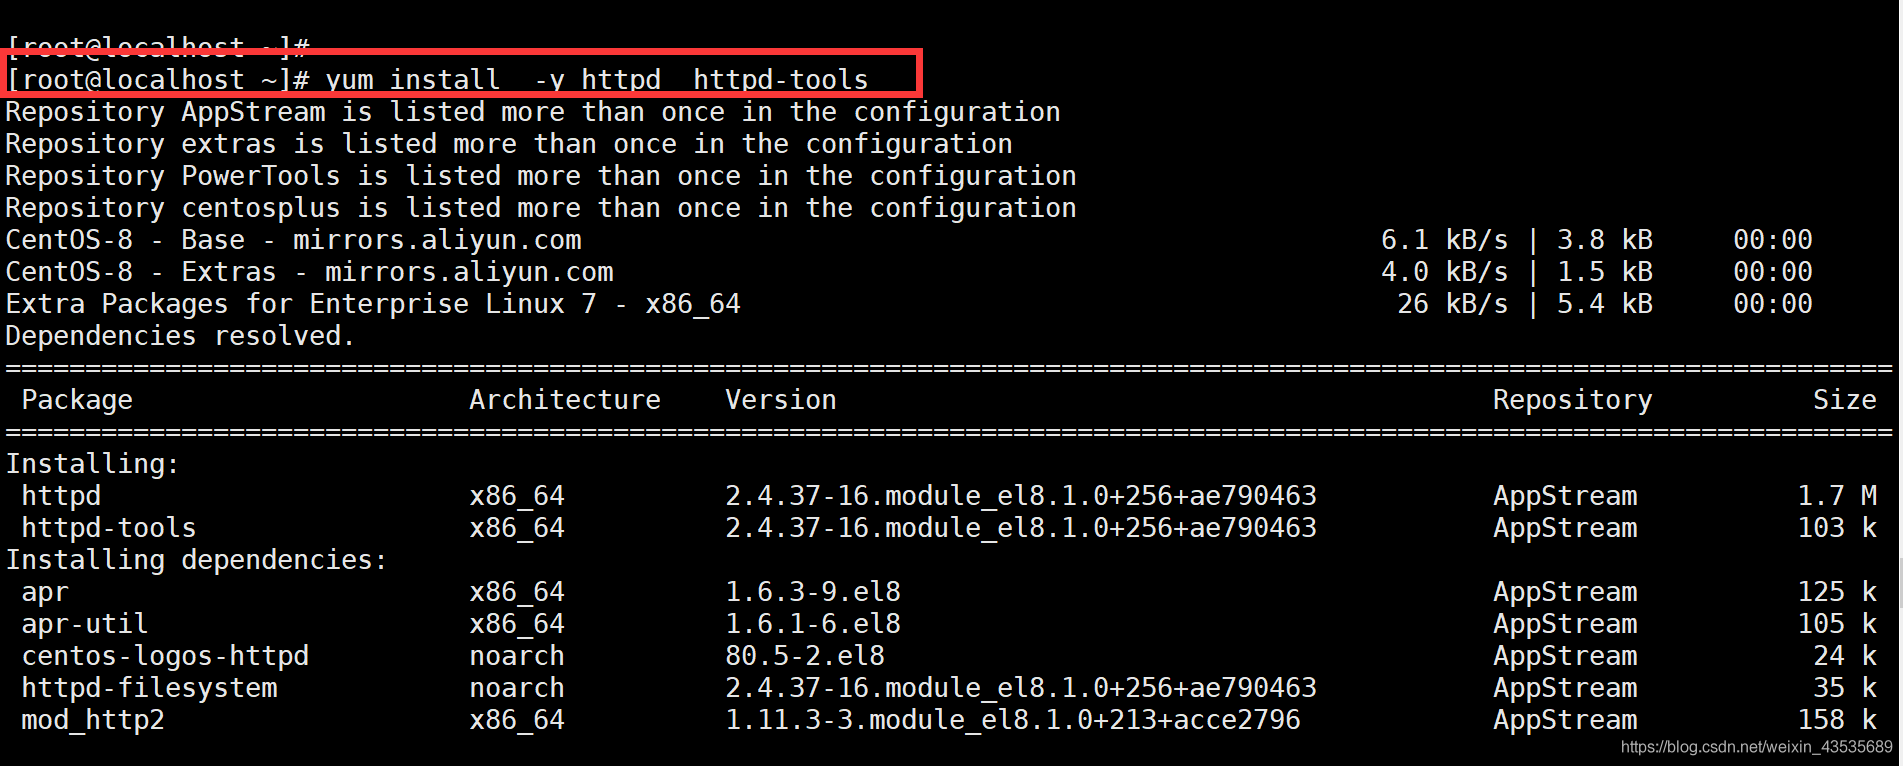
查看httpd运行状态
[root@localhost ~]# systemctl status httpd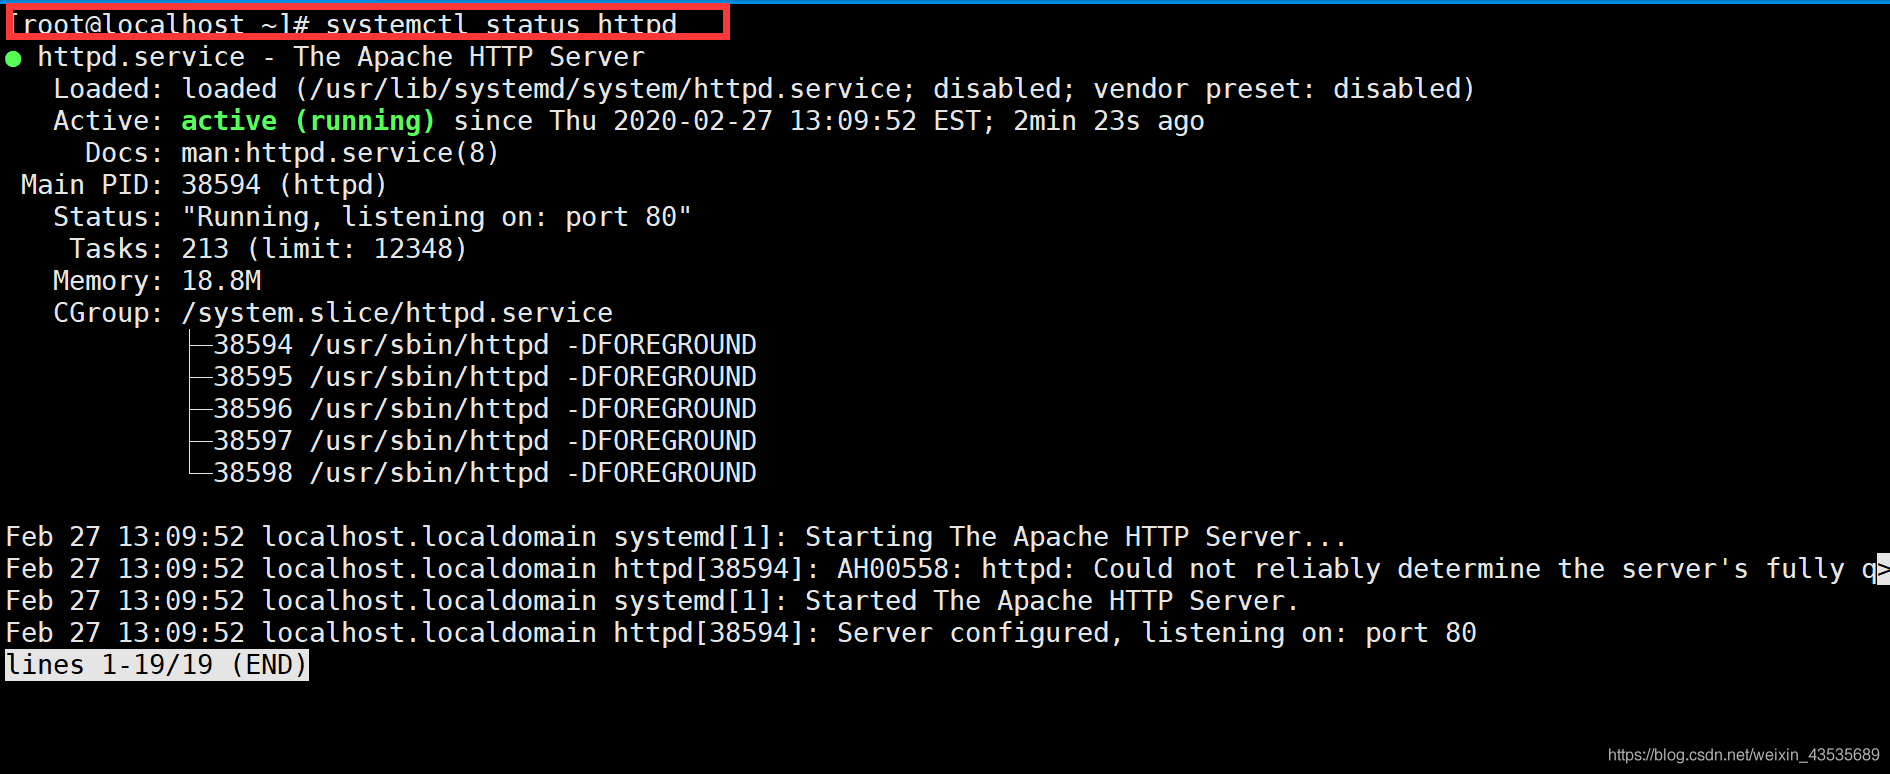
接下来我们测试一下Apache Web 服务器是否安装成功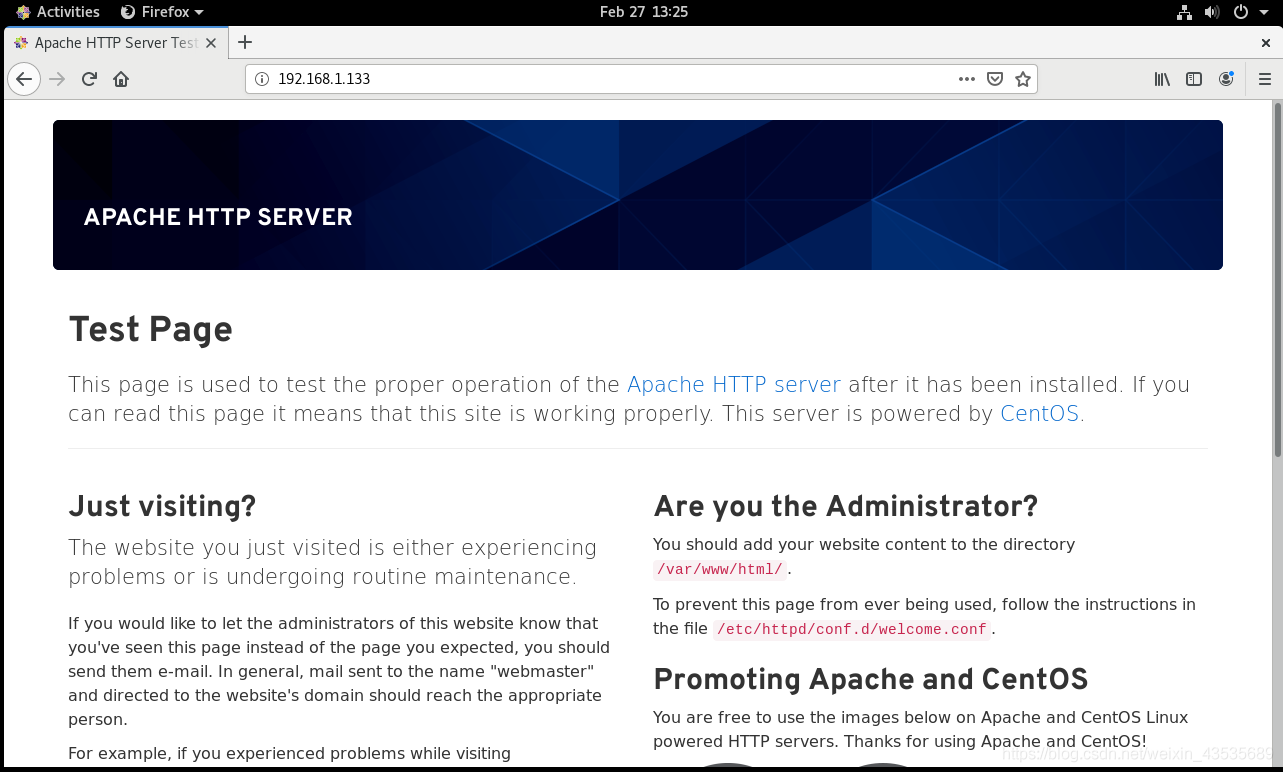
本页面是在 Apache HTTP 服务器测试页 ,完成安装后用来测试它的正常运作。如果你能阅读此页面,此网站已能正常运作
第三步:安装MariaDB
[root@localhost ~]# yum install -y mariadb-server mariadb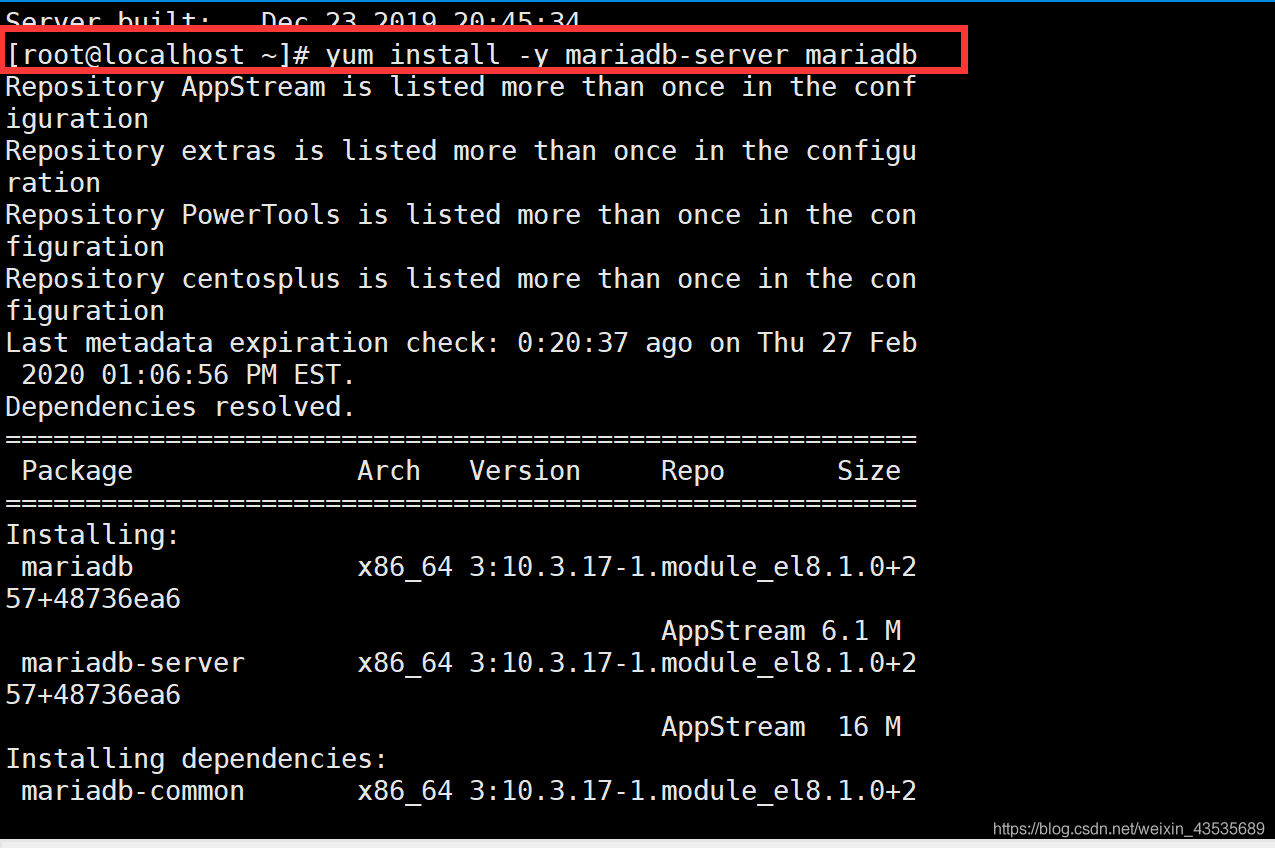
然后启动并在启动时启用MariaDB
[root@localhost ~]# systemctl start mariadb.service
[root@localhost ~]# systemctl enable  mariadb.service
Created symlink /etc/systemd/system/mysql.service → /usr/lib/systemd/system/mariadb.service.
Created symlink /etc/systemd/system/mysqld.service → /usr/lib/systemd/system/mariadb.service.
Created symlink /etc/systemd/system/multi-user.target.wants/mariadb.service → /usr/lib/systemd/system/mariadb.service.
查看MariaDB运行状态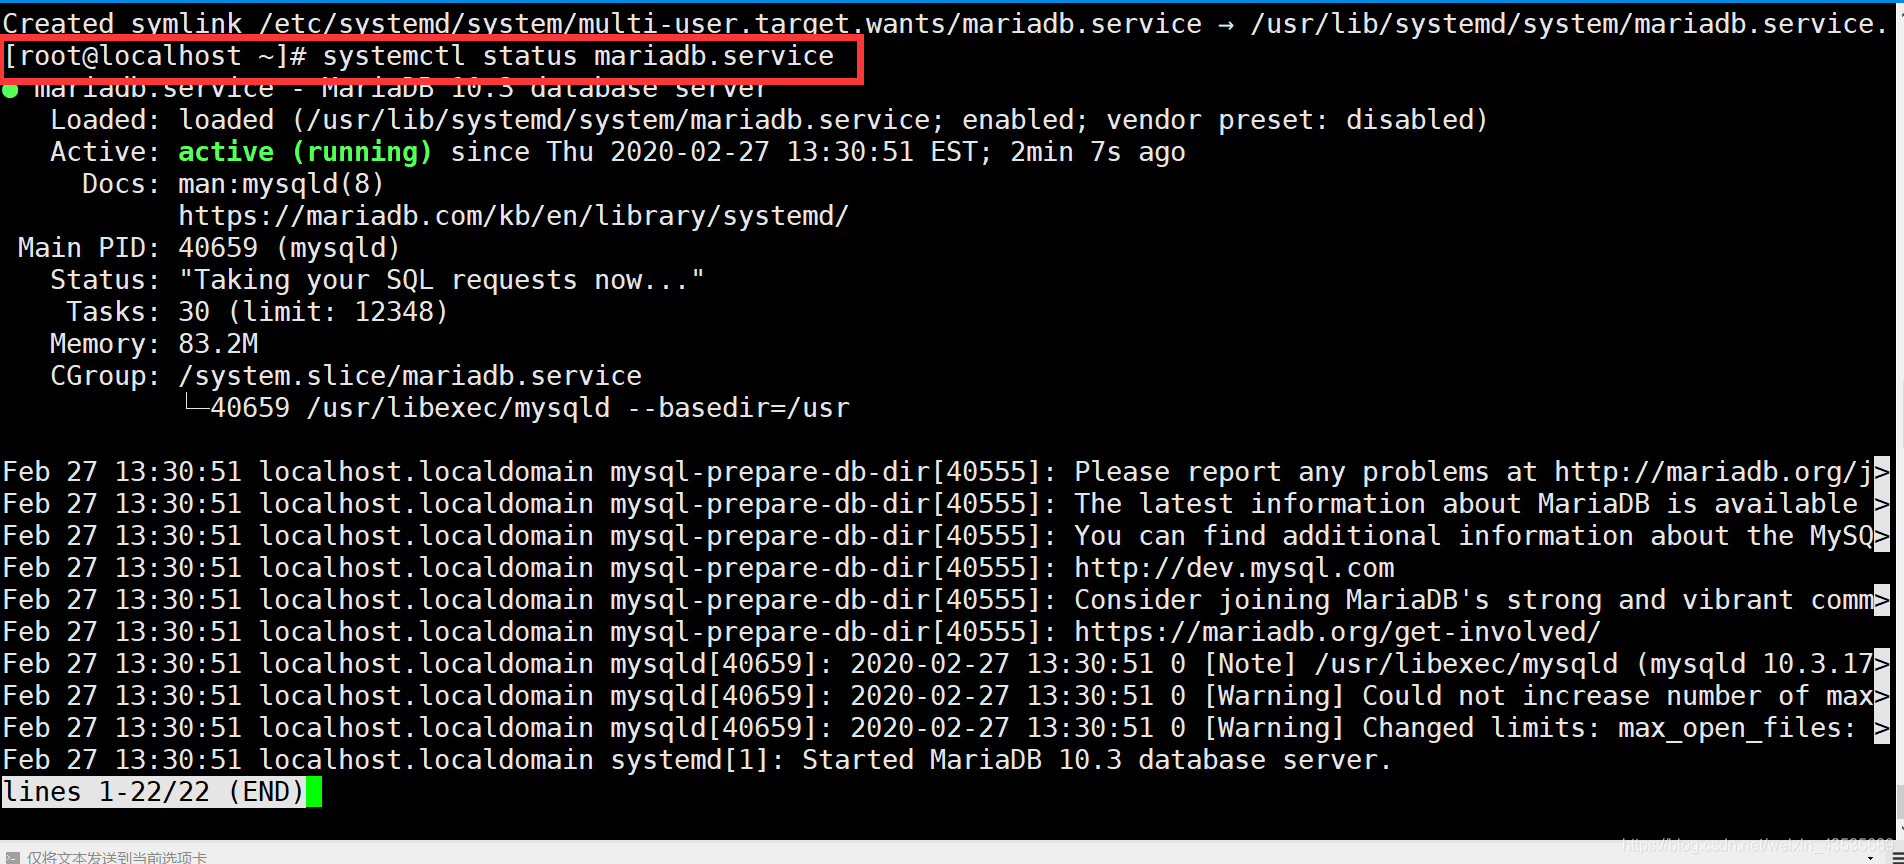
最后,我们需要通过secure来保护MariaDB数据库引擎,做好数据库安全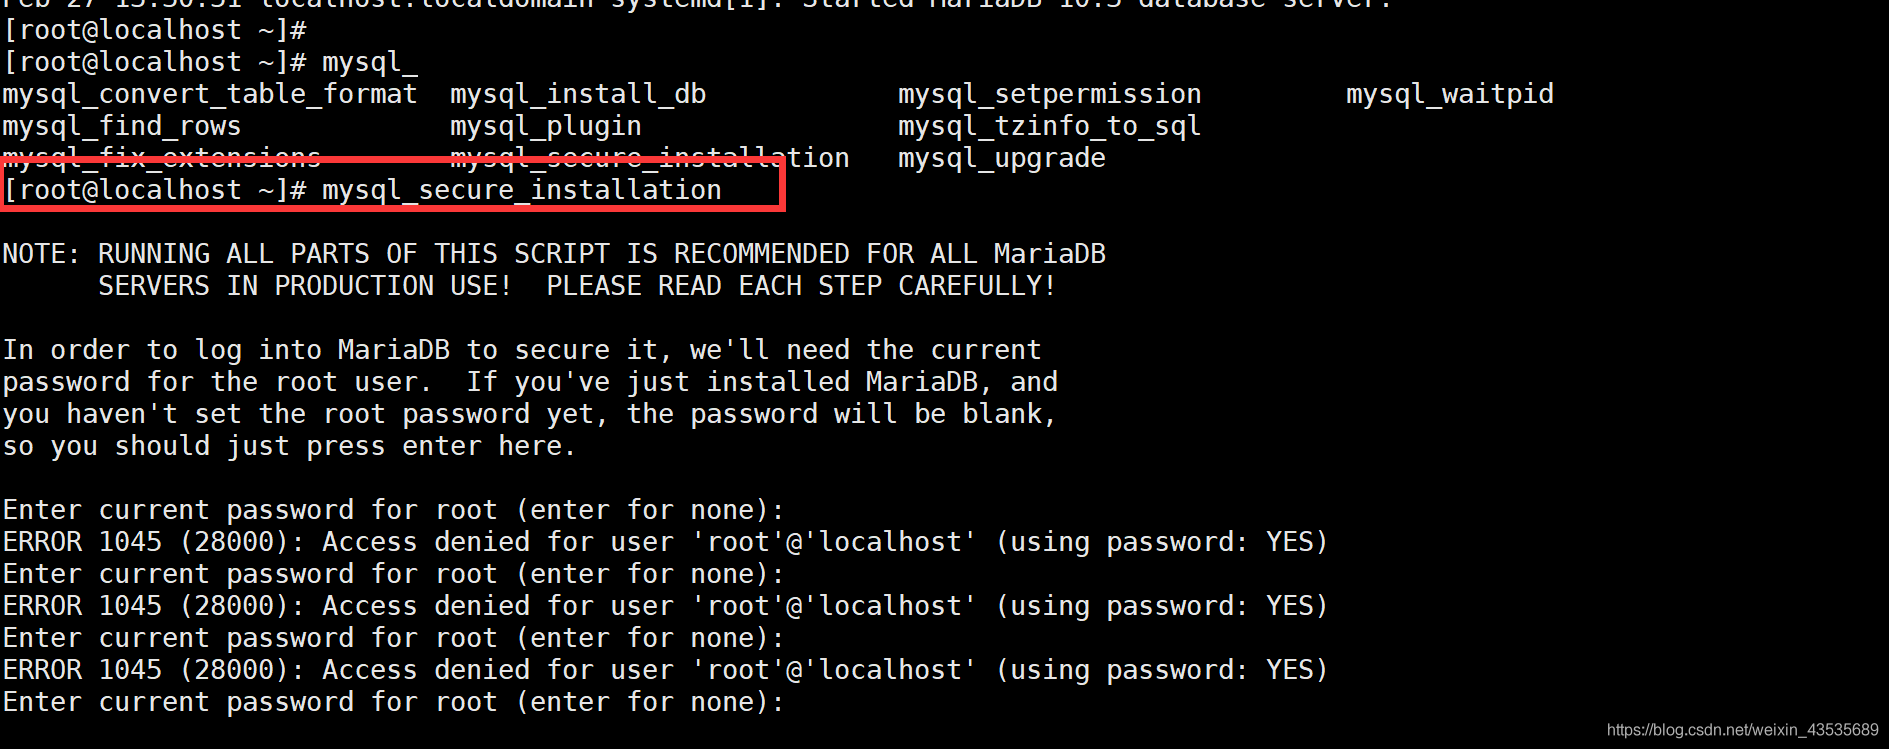 此过程我们输入root密码,其他选项都选y即可
第四步:安装PHP7
我们需要使用Remi信息库安装最新版本的PHP,同样,我们得去阿里镜像网站去找
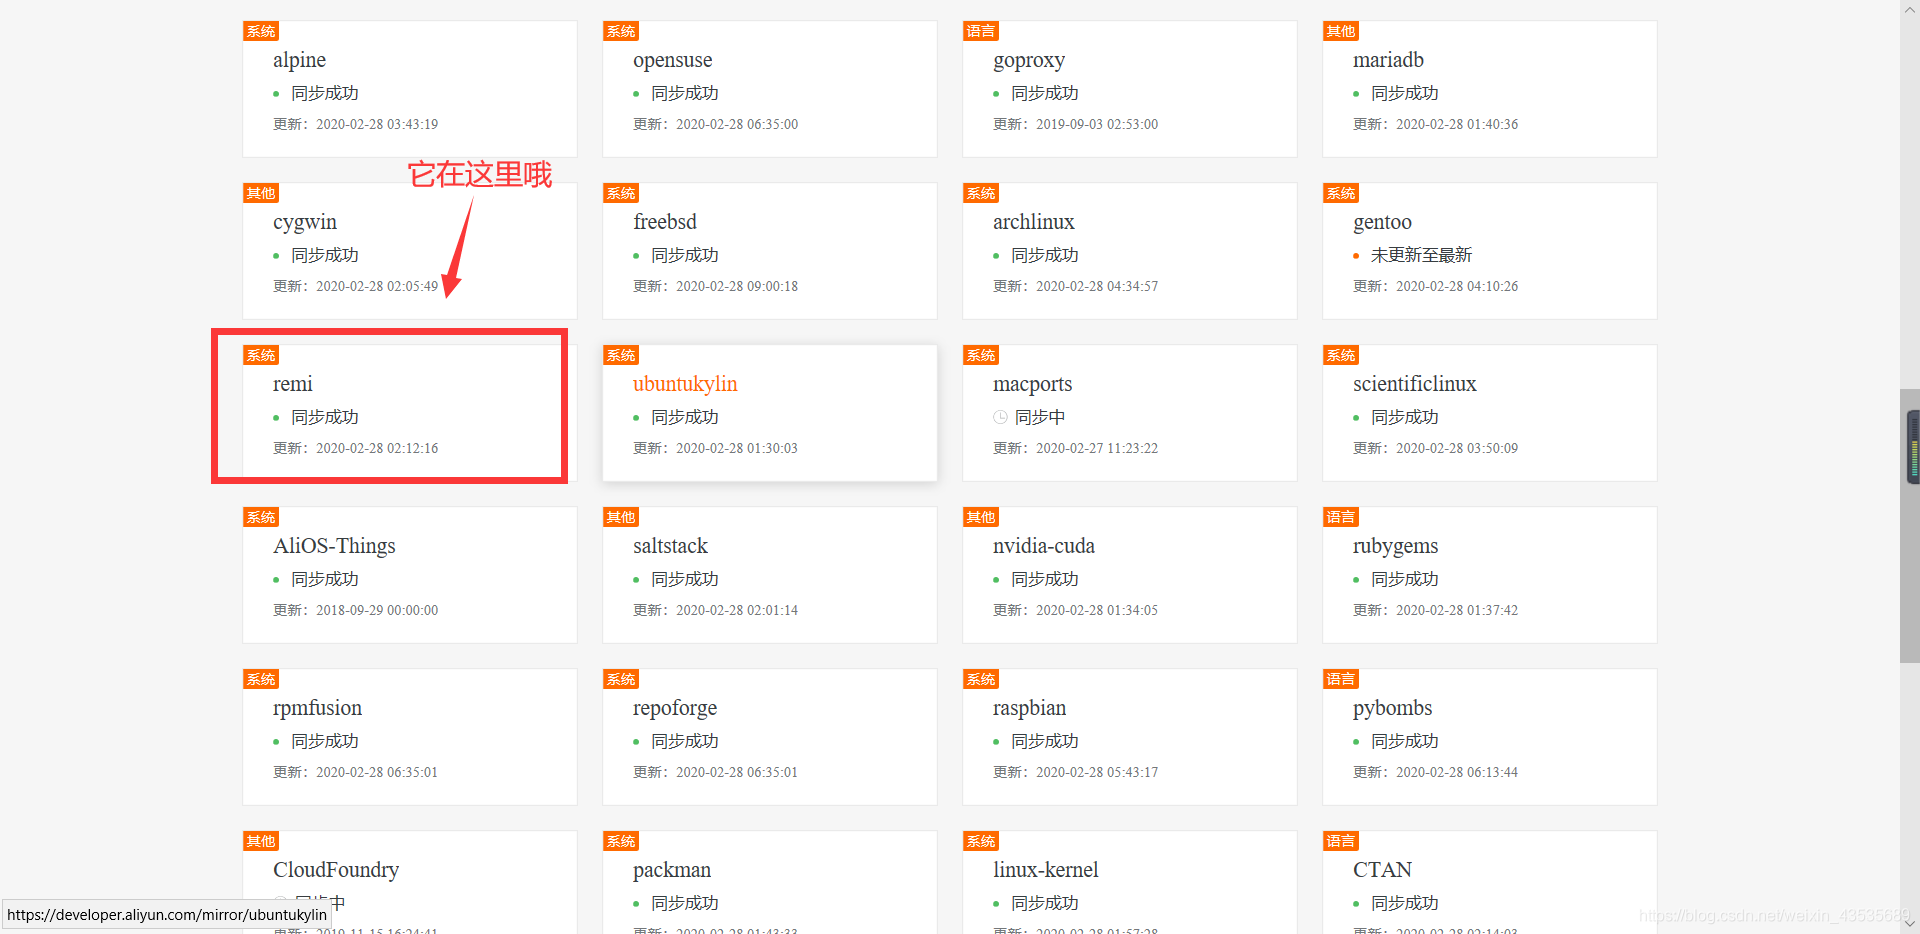
点进去我们会发现这个。点进去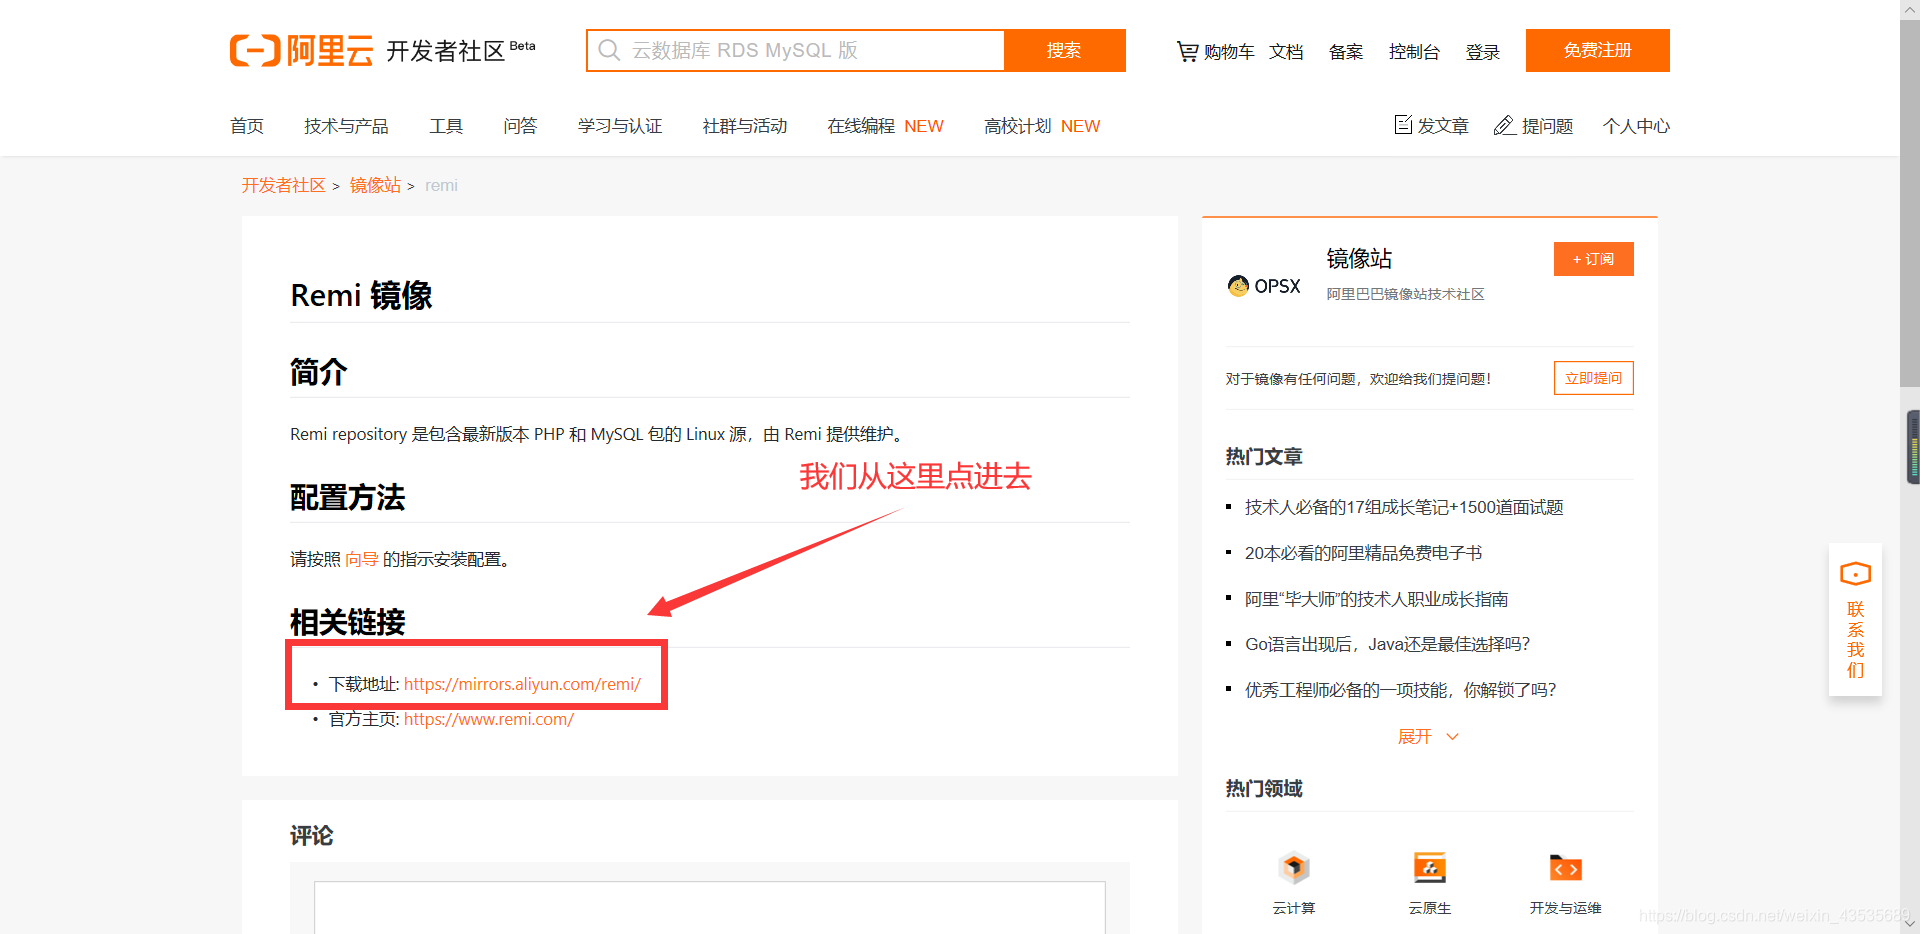
然后你会发现这个,我找了一会。复制链接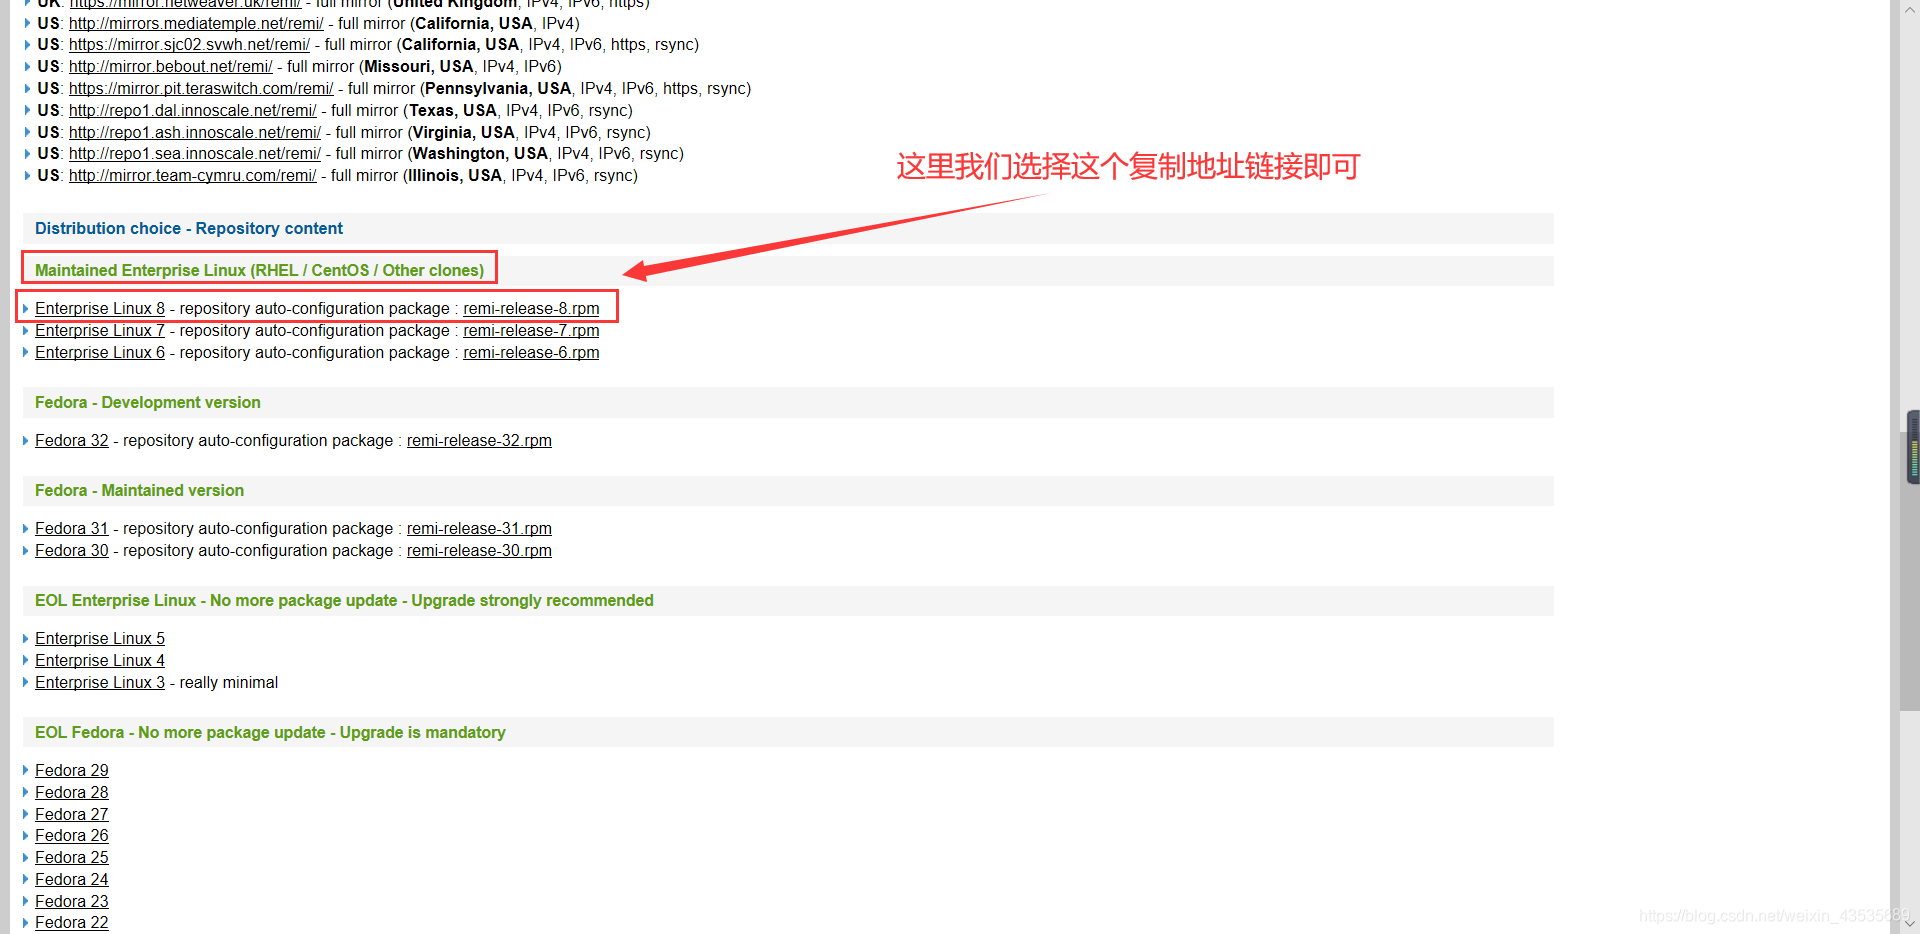
安装Remi信息库
[root@localhost ~]# yum install https://mirrors.aliyun.com/remi/enterprise/remi-release-8.rpm
接下来,安装yum utils并使用以下命令启用remi-repository
[root@localhost ~]# yum install dnf-utils 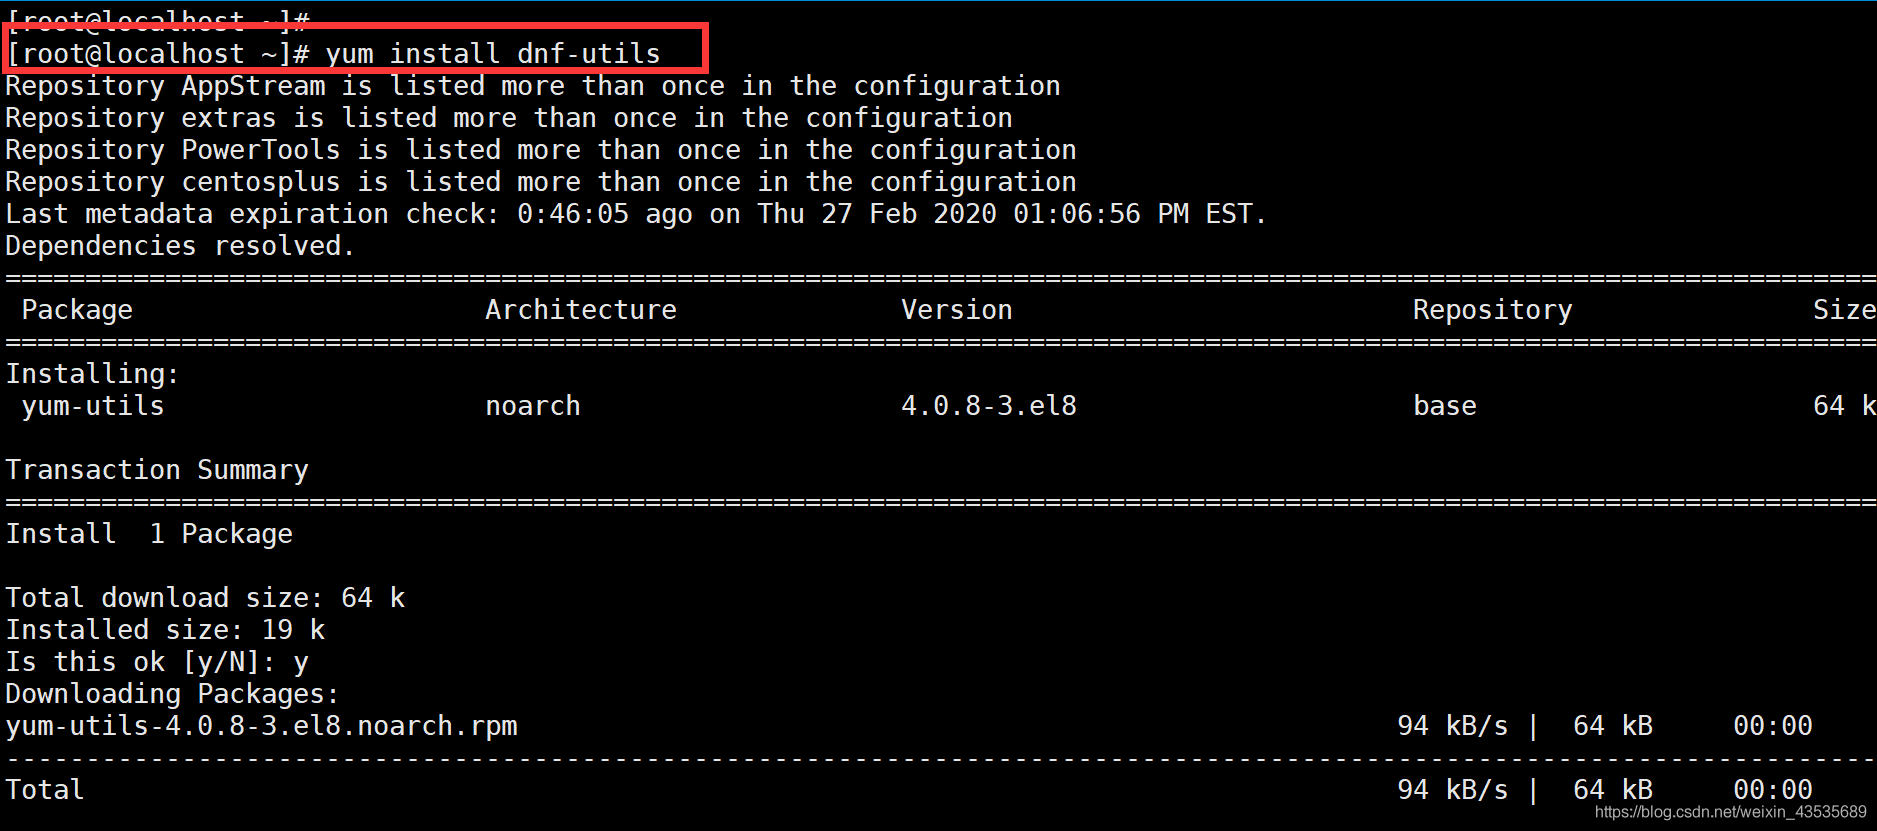
安装好yum-utils和Remi-packages之后,通过运行命令搜索可下载的PHP模块
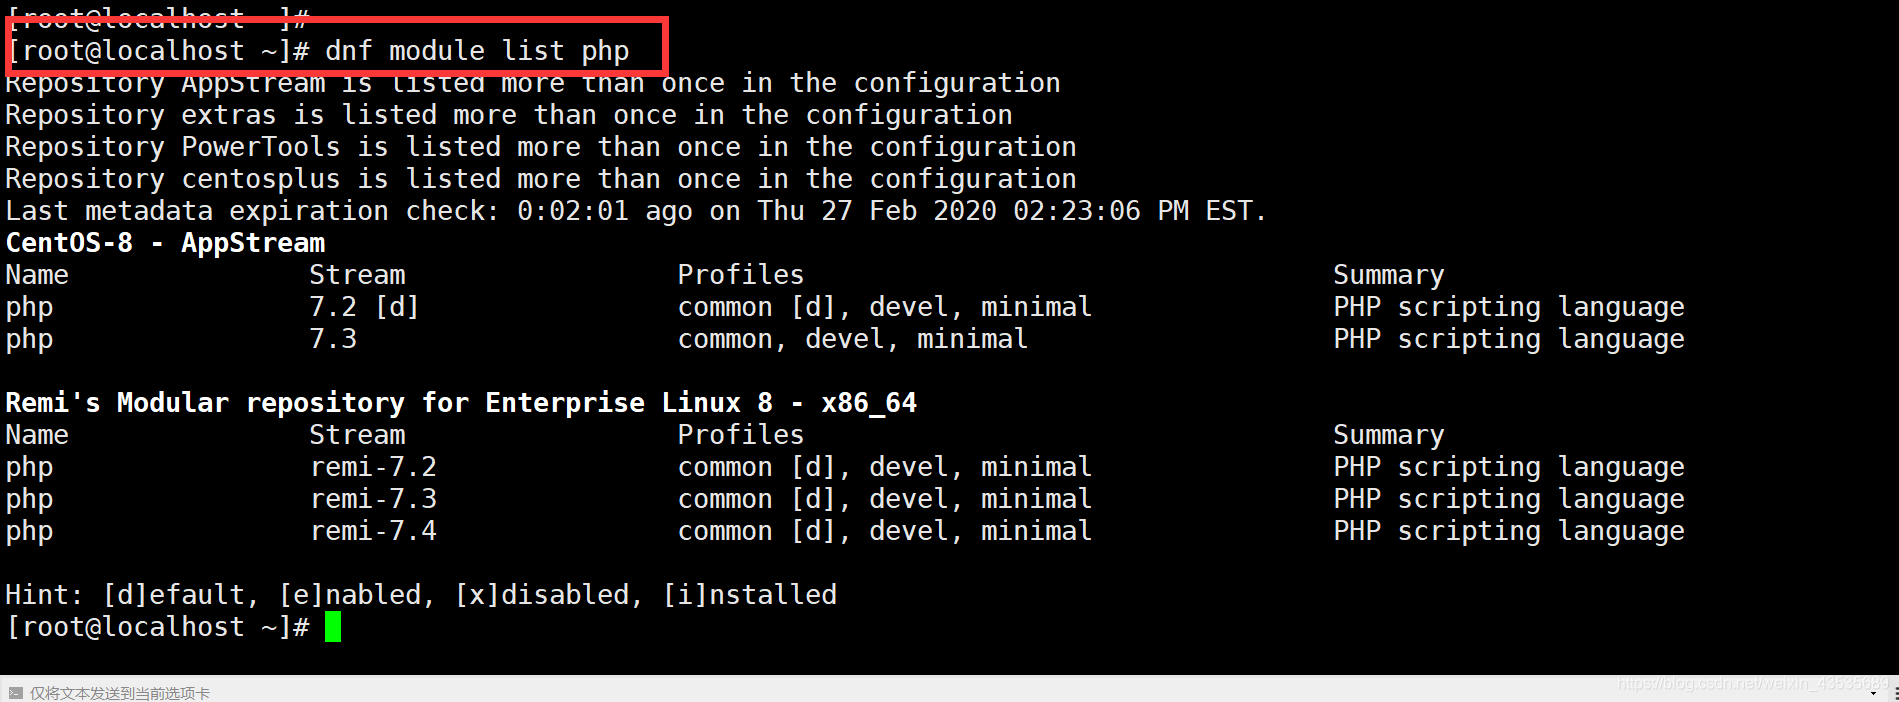
输出表明当前安装的PHP版本是PHP 7.2。要安装较新的版本PHP 7.4,请重置PHP模块

重置PHP模块后,通过运行启用PHP 7.4模块
[root@localhost ~]# dnf module enable php:remi-7.4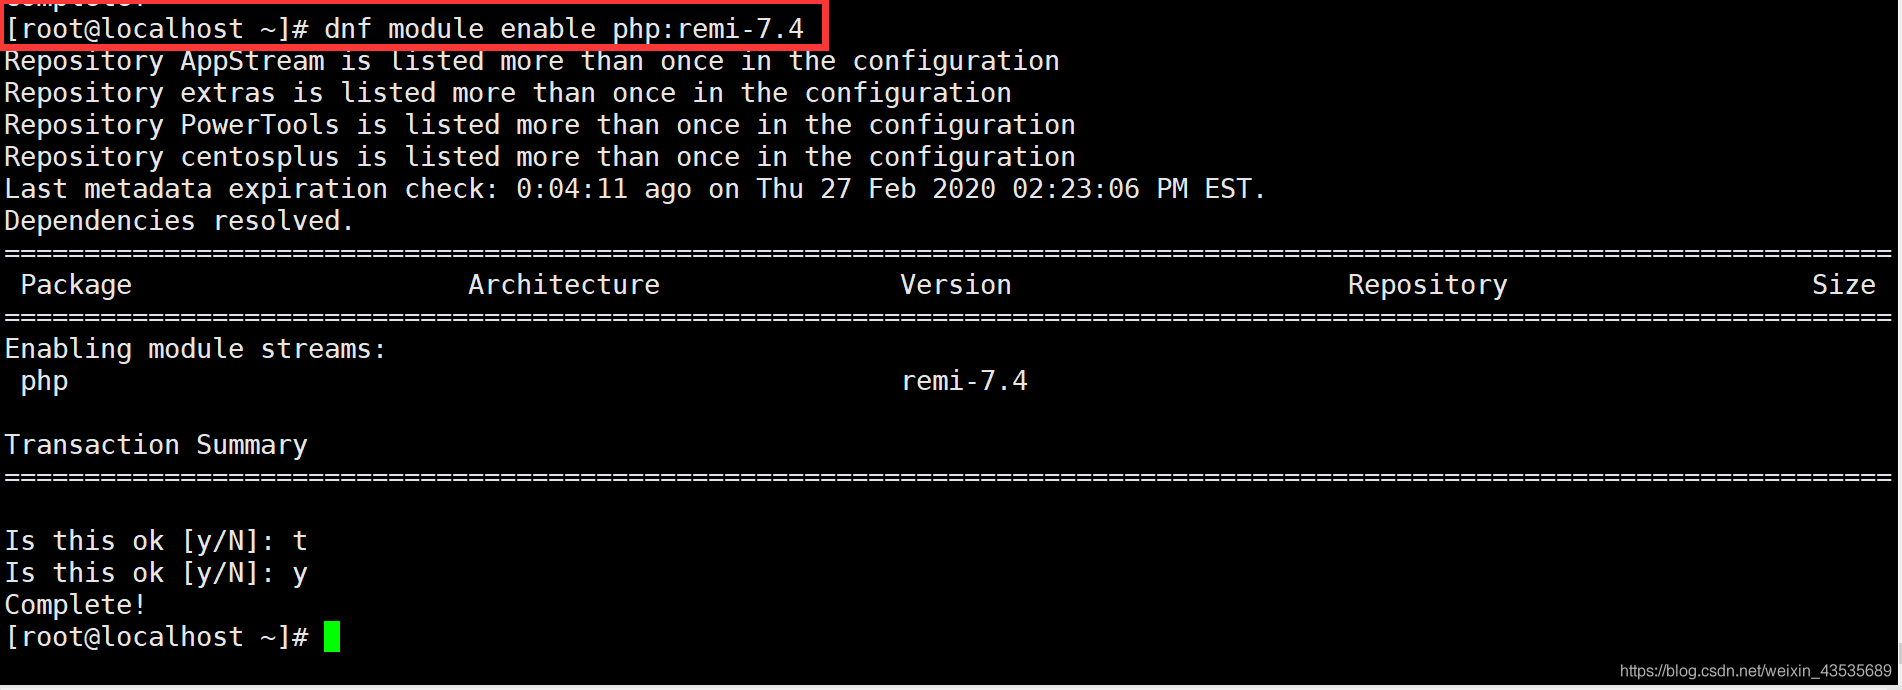
最后,安装PHP,PHP-FPM(FastCGI进程管理器)和关联的PHP模块
[root@localhost ~]# yum install -y php php-opcache php-gd php-curl php-mysqlnd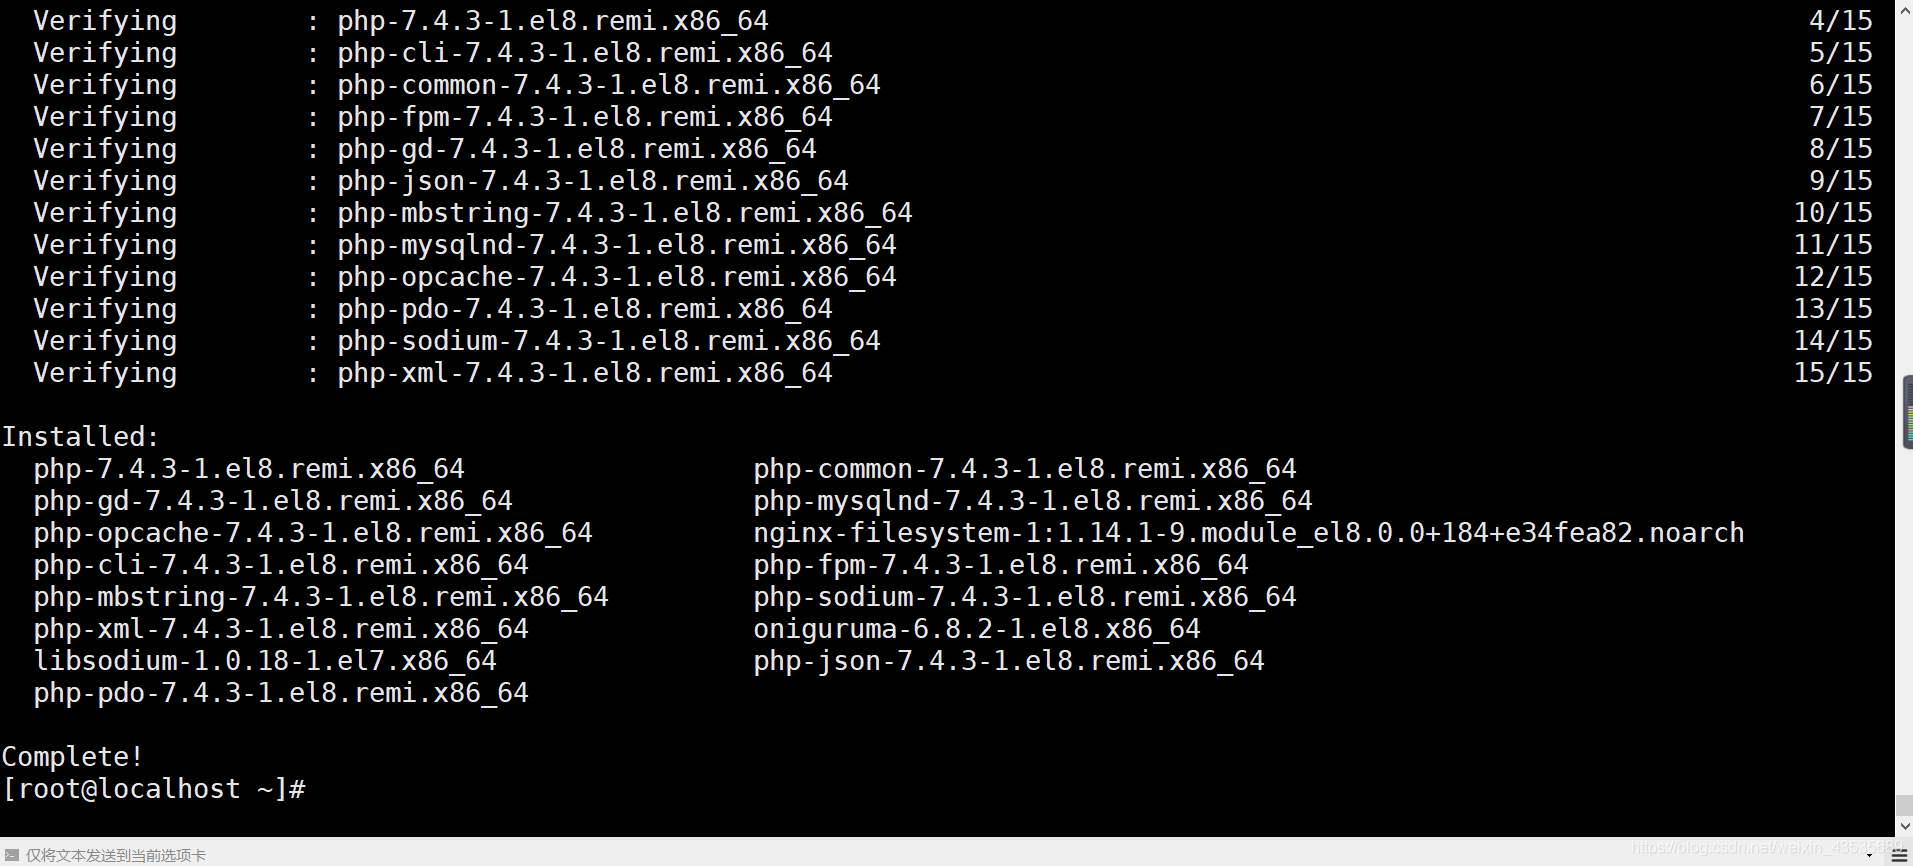
检验安装版本
[root@localhost ~]# php -v
我们看到已经安装好PHP7.4,同时我们需要启用并使之开机启用
[root@localhost ~]# systemctl start php-fpm
[root@localhost ~]# systemctl enable  php-fpm
Created symlink /etc/systemd/system/multi-user.target.wants/php-fpm.service → /usr/lib/systemd/system/php-fpm.service.12
我们仍需检查一下它的运行状态
[root@localhost ~]# systemctl status php-fpm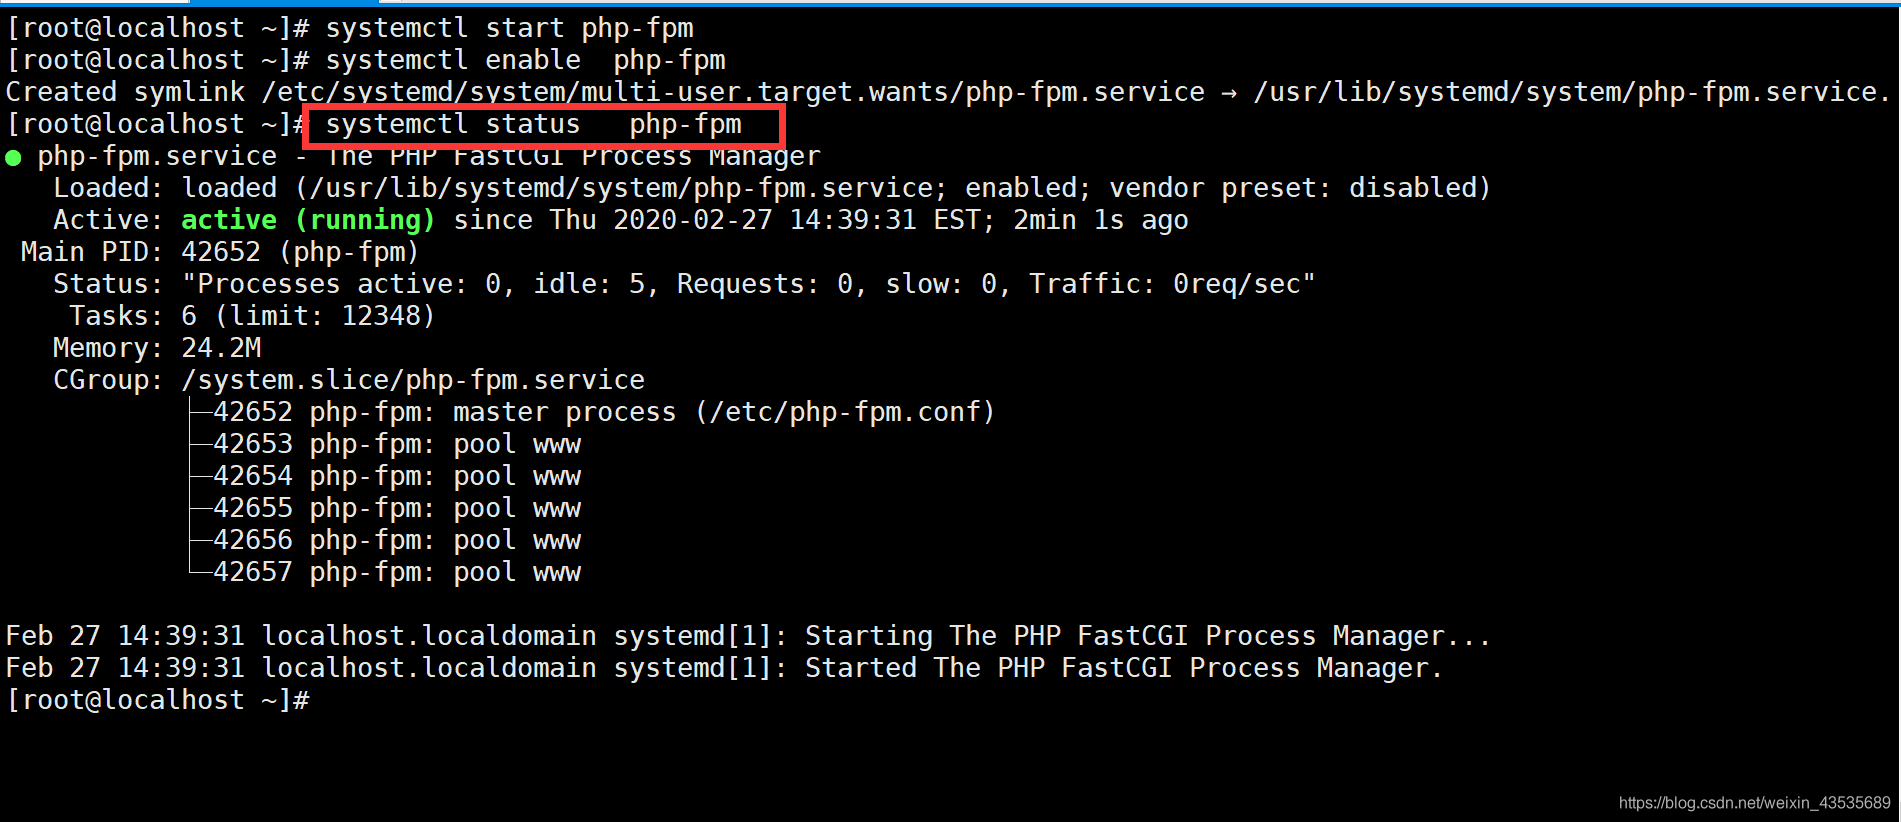
使SELinux允许Apache通过PHP-FPM运行来执行PHP代码
最后,重新启动Apache Web服务器以使PHP与Apache Web服务器一起使用
[root@localhost ~]# setsebool -P httpd_execmem
[root@localhost ~]# systemctl restart httpd1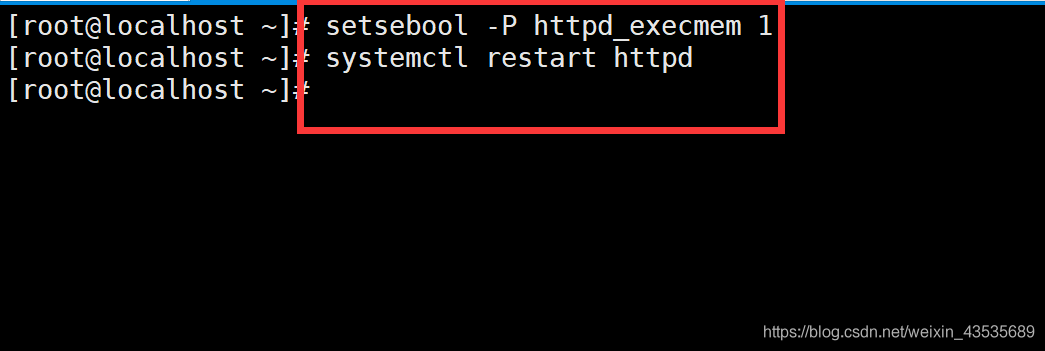
第五步:测试PHP信息
要在网络服务器上测试PHP,您必须在文档根目录中创建一个A.php文件
[root@localhost ~]# vim /var/www/html/A.php在此文件中插入
<?php
phpinfo ();
?>
然后转到浏览器,并在下面输入URL。使用用服务器的实际IP地址替换服务器本文测试的地址。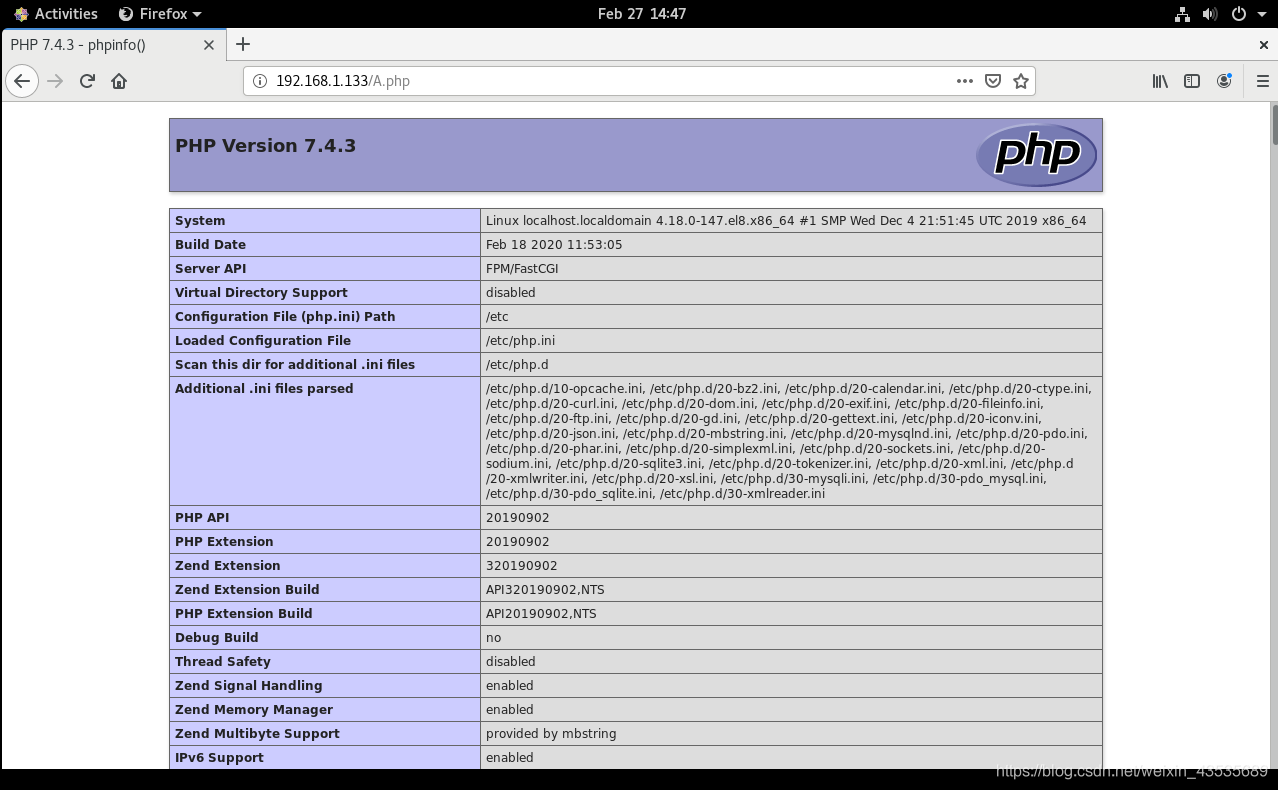
我们能够在Web浏览器上查看有关PHP的信息。此时,我们已经在CentOS 8系统上安装了Apache,PHP和MariaDB。想做此实验的小白可根据这篇进行相应的步骤,实现该实验。
